1 minute read
Change Language
How to change the language of the desktop interface.
Change the language for your user account
- Open the Zorin Menu → Settings.
- In the left sidebar of the Settings app, navigate to the “Region & Language” panel.
- Click on the “Language” button at the top of the settings panel.

- Select your language from the list and press “Done”.
- Select the option to Restart your session.
- Log back into your user account to apply the change.

If your language isn’t available
If your desired language doesn’t appear in the “Language” list (as above), please follow these steps to install its language pack:
- Click on the “Manage Installed Languages” button at the bottom of the settings panel.
- In the new window, press “Install / Remove Languages”

- Mark the language you wish to install in the list and click “Apply”.

- After the language pack has finished installing, please close the “Language Support” window.
- Click on the “Language” button at the top of the settings panel.
- Select your language from the list and press “Done”.
- Select the option to Restart your session.
- Log back into your user account to apply the change.

Change the language for the entire system
If you wish to set a different default language for the entire system (including the login screen and new user accounts) please follow these steps:
- Open the Zorin Menu → Settings.
- In the left sidebar of the Settings app, navigate to the “Region & Language” panel.
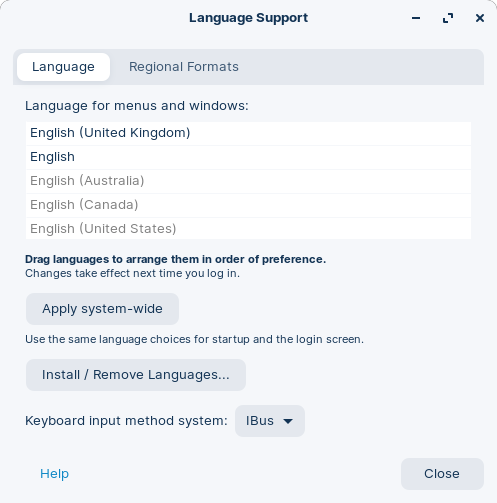
- Click on the “Manage Installed Languages” button at the bottom of the settings panel.
- In the new window, find your desired language in the “Language for menus and windows” list and drag it to the top.
- If your desired language doesn’t appear in this list. Please follow steps 2 & 3 in the “If your language isn’t available” section above.
- If your desired language doesn’t appear in this list. Please follow steps 2 & 3 in the “If your language isn’t available” section above.
- Press the “Apply system-wide” button.
- Restart your computer to apply the change.