Set Up Sound
Troubleshoot issues with audio input or output from speakers, headphones, or microphones.
Check the Sound settings
- Open the Zorin Menu and click on “Settings”.
- Select the “Sound” panel from the left sidebar menu.
Please make sure that the correct volume, Input & Output Devices, and Configurations are set here.
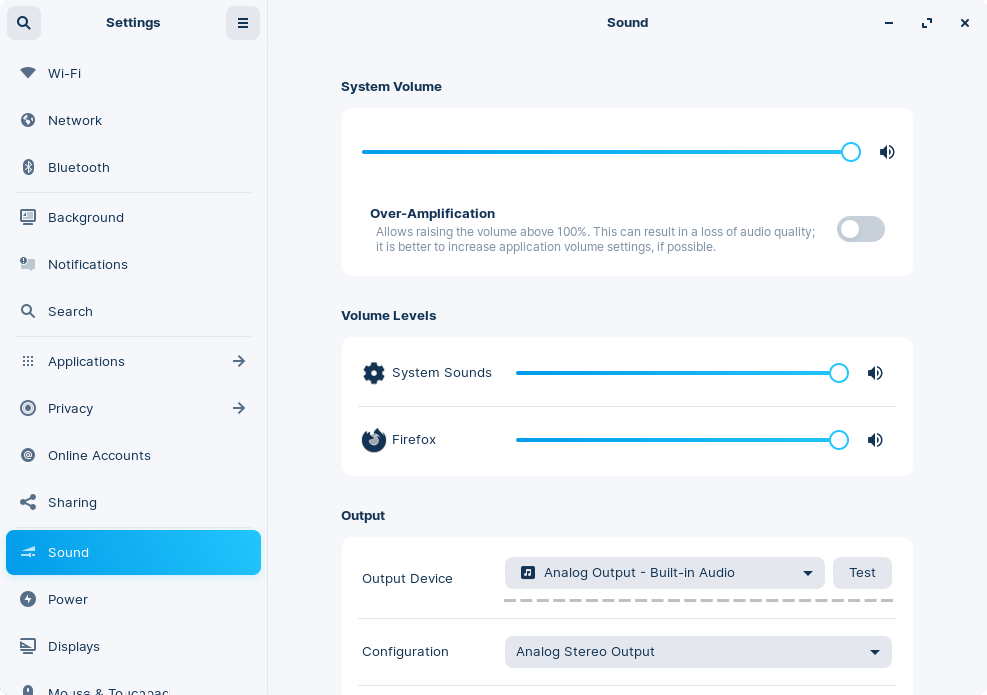
Test audio output from speakers or headphones
To test if your new audio output device settings are working, press the “Test” button beside the “Output Device” dropdown menu. Click on each audio channel to hear output from your speakers or headphones.
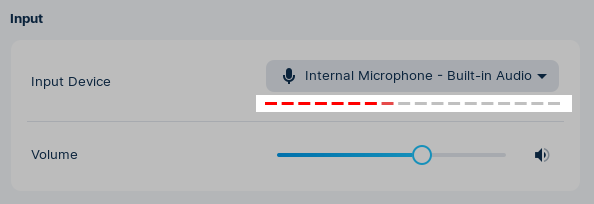
Test audio input from the microphone
To test if your new audio input device settings are working, make some noise (like saying “Test 1 2 3” out loud). Monitor the red volume level under the “Input Device” dropdown menu.
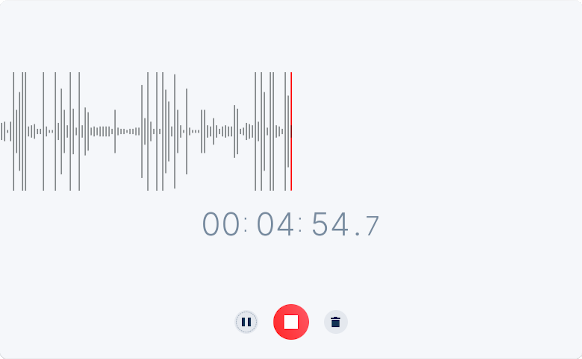
You can also test the quality of the sound input using the built-in Sound Recorder app.
- Open the Zorin Menu → Sound & Video → Sound Recorder.
- Press the “Record” button in the top-left corner of the window to start recording from your configured input device.
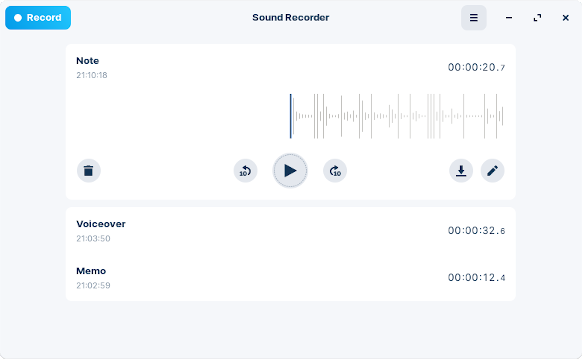
- Press the ■ stop button to stop the recording and click to save it.

- Press the ▶ play button to play the recording.

Check the PulseAudio Volume Control settings
If your computer is still unable to output or input audio, the PulseAudio Volume Control app may be helpful. It gives more sound settings and information, such as:
- what app(s) are playing audio.
- where that audio is being routed.
- what the default input/output devices are.
- what the volume levels are set to.
If you’re using Zorin OS Lite. PulseAudio Volume Control is already installed. You can open it from the Zorin Menu → Settings → Sound.
If you’re not using Zorin OS Lite. You can install PulseAudio Volume Control by following these steps:
Open the Zorin Menu → Utilities → Terminal.
Enter the following command into the Terminal:
sudo apt install pavucontrolOnce installed, open the Zorin Menu → Sound & Video → PulseAudio Volume Control.
Some particular problems may be solved by making tweaks to the settings in PulseAudio Volume Control.
Playback
The “Playback” tab will show a list of apps that are currently playing audio. The volume for each app can be controlled individually.

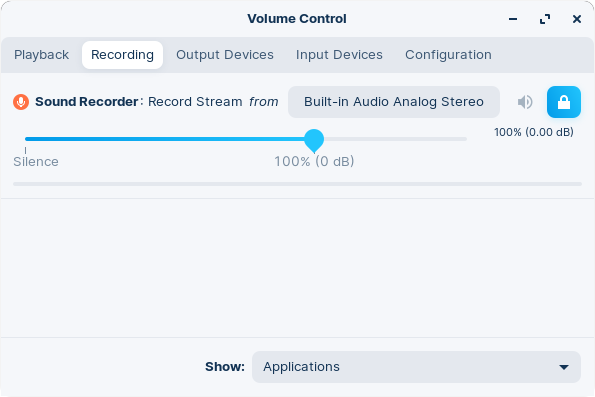
Recording
Similarly, the “Recording” tab will show a list of apps that are currently recording audio.
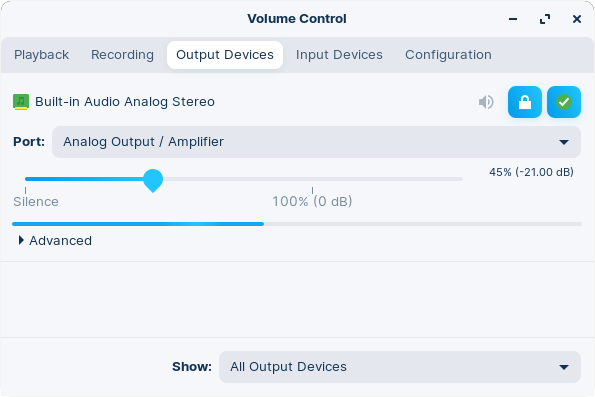
Output
The “Output Devices” tab shows a list of output devices and an indicator of what’s being played out of each device. The green checkmark indicates that a device is the default output device.
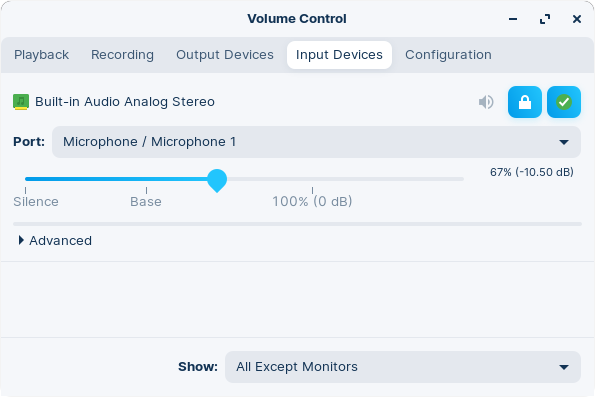
Input
The “Input Devices” tab shows a similar list for input devices.
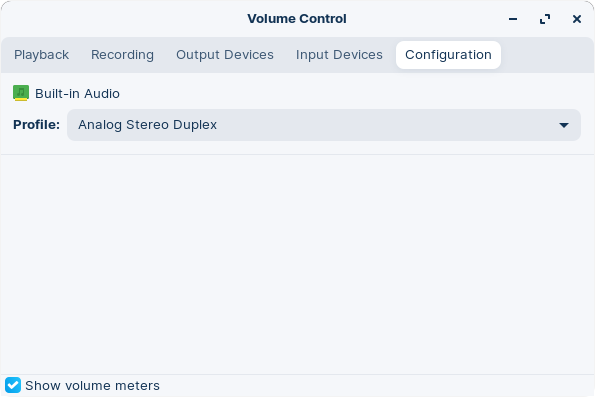
Configuration
In the “Configuration” tab, each sound card should be listed.
Reset the audio server
If the system is still unable to play audio, please try restarting the operating system’s audio server (PipeWire).
Open the Zorin Menu → Utilities → Terminal.
Enter the following 2 commands into the Terminal:
systemctl --user restart wireplumber pipewire pipewire-pulserm -r ~/.config/pulse
When the audio server starts again (which it should do automatically), it will create new configuration files and should resolve the audio issue.
PCI/internal sound card not detected (dummy output)
If you see this message, try running these commands in the Terminal to force the usage of a specific audio driver:
Open the Zorin Menu → Utilities → Terminal.
Enter these two commands into the Terminal to force the usage of a specific audio driver:
echo "options snd-hda-intel dmic_detect=0" | sudo tee /etc/modprobe.d/dummy-output-fix.confecho "blacklist snd_soc_skl" | sudo tee -a /etc/modprobe.d/blacklist.confRestart your computer to apply the changes.
If this doesn’t resolve the issue
Undo the changes by runnning these two commands in the Terminal:
sudo sed -i 's/options snd-hda-intel dmic_detect=0//' /etc/modprobe.d/dummy-output-fix.conf
sudo sed -i 's/blacklist snd_soc_skl//' /etc/modprobe.d/blacklist.conf
Then restart your computer again.
Technical explanation
With hardware that uses the snd_hda_intel kernel module, rare bugs can cause the sound card to not be detected.
Audio over HDMI doesn’t work with NVIDIA graphics
If your computer has an NVIDIA graphics card and isn’t playing audio over a HDMI connection, you may need to first activate the graphics card by installing the official proprietary NVIDIA drivers in Zorin OS.
View how to activate an NVIDIA graphics card ›
Microphone plugged in through the headphone jack isn’t detected
If you can’t use your microphone (or microphone built into your headset) after plugging it into your computer’s 3.5mm headphone jack, please first open the Sound settings to check if it’s available as an input device. It should usually appear as a “Line In Microphone”.
If your microphone isn’t available as an input device in the Sound settings, please follow these steps:
Open the Zorin Menu → Utilities → Terminal.
Enter this command into the Terminal to allow your computer to detect the microphone:
echo "options snd-hda-intel model=dell-headset-multi" | sudo tee /etc/modprobe.d/headset-jack-microphone-fix.confRestart your computer to apply the changes.
Open the Sound settings to select the microphone as the active input device.
If this doesn’t resolve the issue
Undo the changes by runnning this command in the Terminal:
sudo sed -i 's/options snd-hda-intel model=dell-headset-multi//' /etc/modprobe.d/dummy-output-fix.conf
Then restart your computer again.