Install Zorin OS in VirtualBox
How to create a virtual machine and install Zorin OS inside it.
This is a quick tutorial about getting Zorin OS to run in a virtual machine. It’s especially useful if you want to test drive Zorin OS without having to commit to installing it onto your computer yet.
Before continuing, please make sure to do the following things:
- Download your Zorin OS .iso file.
- Install VirtualBox from the Software store (in Linux) or the official website.
Launch VirtualBox
This is the initial screen of VirtualBox.
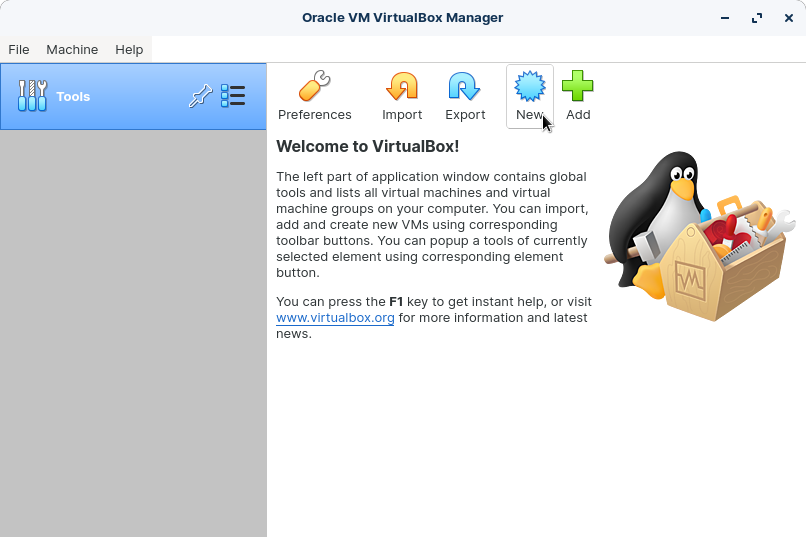
Click the “New” button in the toolbar at the top of the window.
Create the new virtual machine
You should see a screen where you can select the name of the virtual machine and the type of operating system.
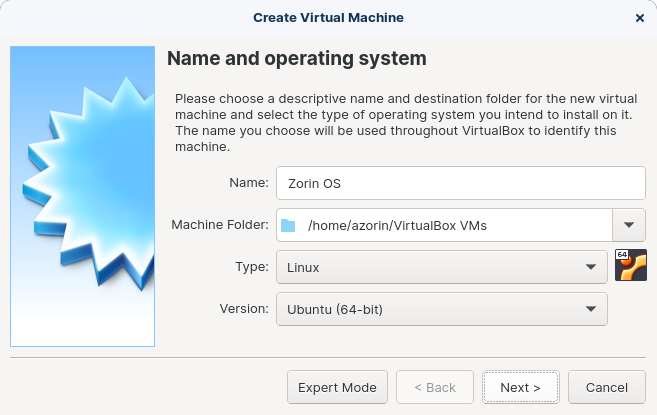
We use the name “Zorin OS” but you can use whatever you like.
Set your type to “Linux” and the version to “Ubuntu (64 bit)”.
Your screen should look like the screenshot above. Click the “Next” button to proceed to the next screen.
Allocate memory
Set the memory to at least the minimum RAM required for your edition of Zorin OS. You can set it to as high as you like to get better performance.
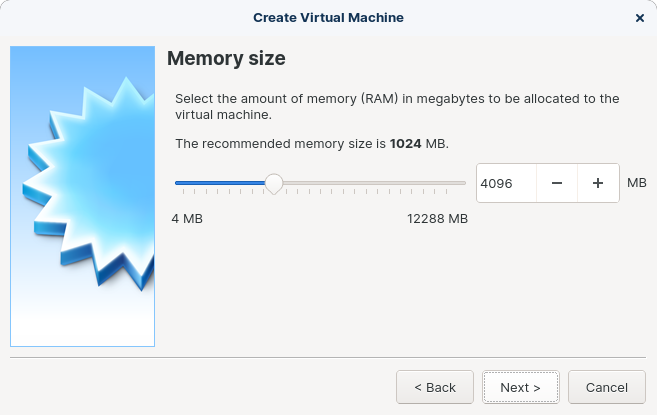
Click the “Next” button to proceed to the next screen.
Create a virtual hard disk
To install Zorin OS to your virtual machine, you will need to create a virtual hard disk.
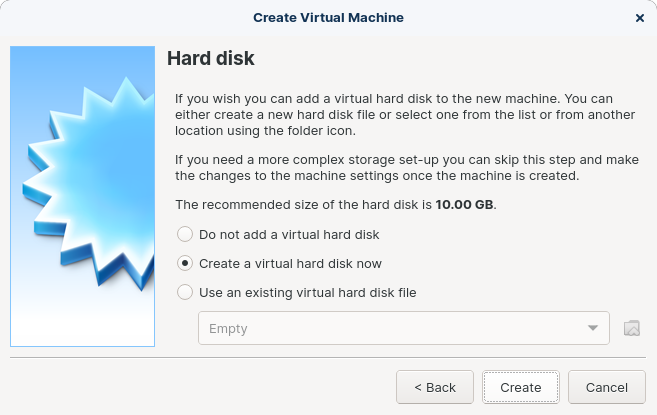
Accept the default option to “Create a virtual hard disk now” and click the “Create” button.
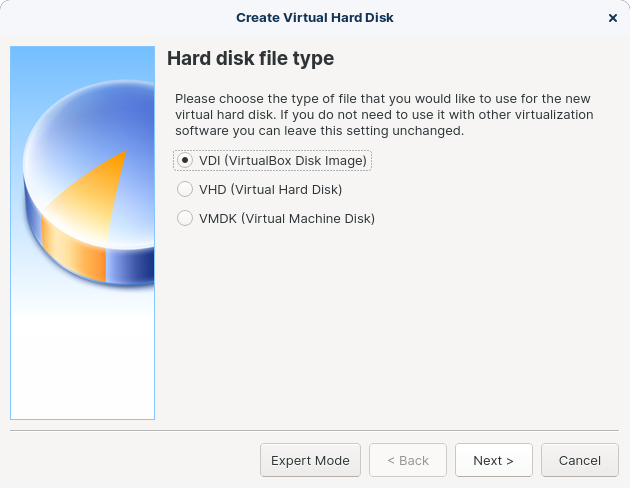
Choose hard disk file type
You can accept the default option “VDI (VirtualBox Disk Image)” and click the “Next” button.
Set drive allocation type
This dialog asks you how you want to grow the disk as you put content on it. The default “Dynamically allocated” option is usually the best choice as it allocates only the space you will use.
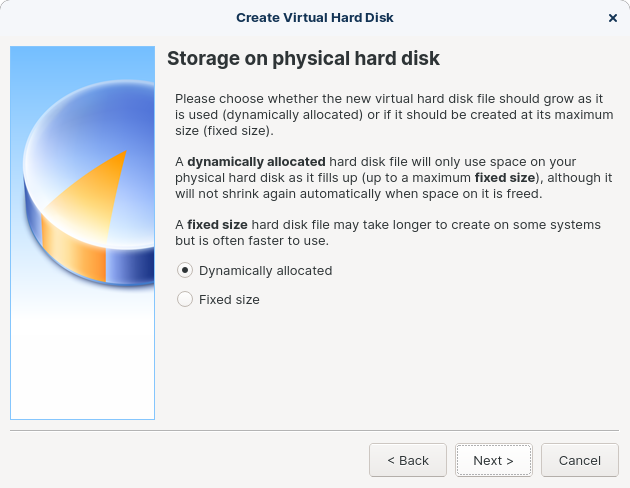
Click on the “Next” button to proceed to the next screen.
Set location and size of hard disk
Feel free to keep the default name and location for the virtual hard drive.
Set the hard disk size to be larger than the minimum storage required for your edition of Zorin OS.
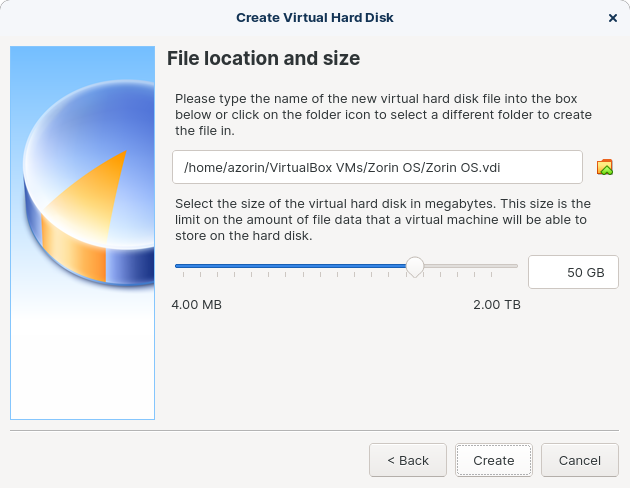
After adjusting the hard disk size, click the “Create” button.
Start the virtual machine
Press the “Start” button with the green arrow in the toolbar at the top.

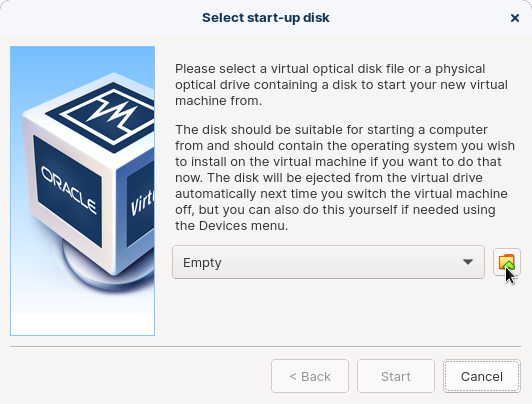
Select the Zorin OS .iso File
To start installing Zorin OS, the virtual machine needs a start-up disk. In this case, it’s the Zorin OS .iso file that you downloaded.
Using the below dialog, click on the little icon with the folder and the green up arrow.
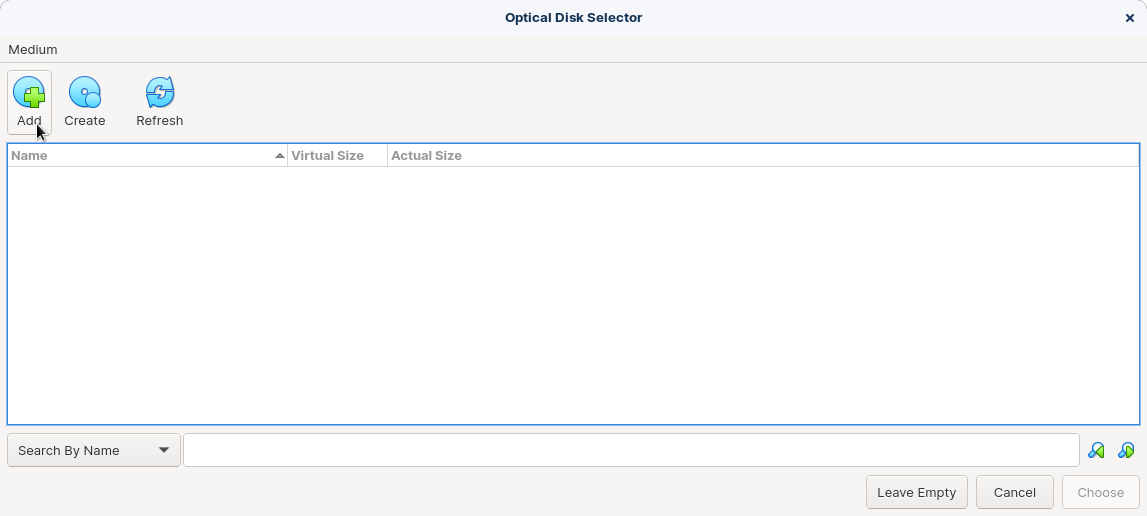
In the next dialog, press the “Add” button in the top-left corner to add the Zorin OS .iso file.
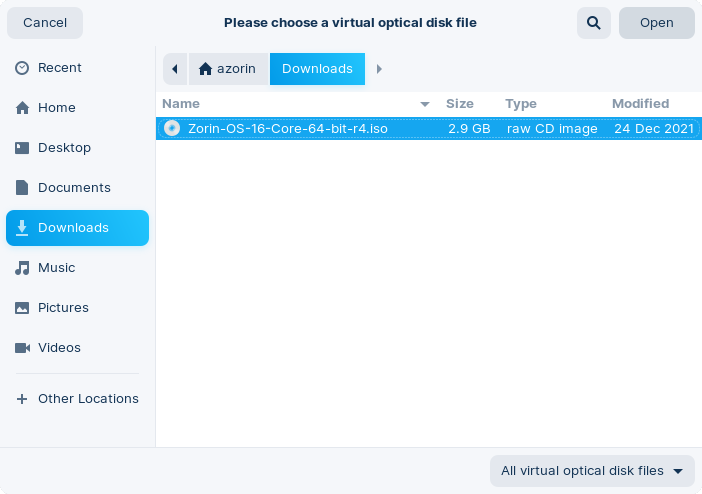
Navigate to your Downloads folder to select the Zorin OS .iso file you downloaded and click “Open”.
In the next dialog, make sure that the Zorin OS .iso file is highlighted and press the “Choose” button.
Finally, press the “Start” button in the next dialog.
Begin installing Zorin OS
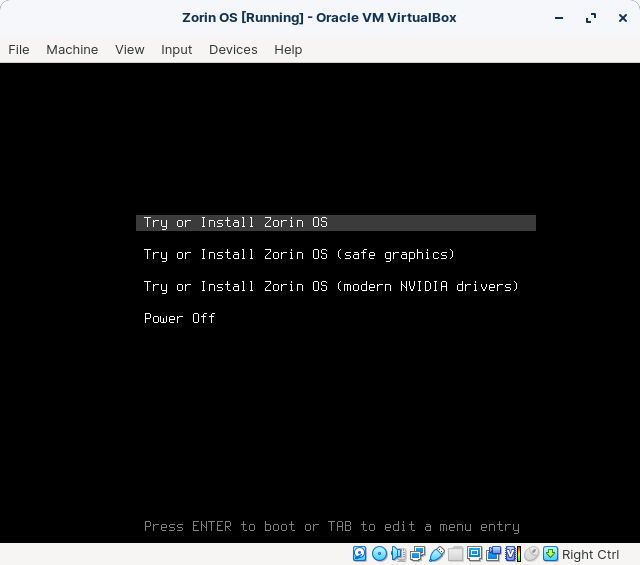
The virtual machine should now start up. When you reach the Zorin OS boot selection menu, make sure that the top “Try or Install Zorin OS” option is highlighted and press the Enter key.
Visit our installation instructions to learn how to complete the setup process.
View how to install Zorin OS ›
If the screen resolution is too small
If you notice that the installer for Zorin OS is too large to fit into the default screen resolution in VirtualBox, please follow these steps:
- Move the installation window slightly (but not completely) out of the way. You can press and hold the Super/Logo key or Alt key (in Zorin OS Lite) to drag from any part of the installation window.
- Right-click on the desktop and select “Display Settings”.
- Change the “Resolution” to 1024 x 768 or above.
- Click the “Apply” button in the top right-hand corner.
You will now be able to continue with the installation.